This guide takes an Organisation Admin through setting up the AI Assistant for their team.
Before you start
- You need the Organisation Admin role in Brokernote.
- Brokernote must enable the AI Assistant for your organisation. If a settings page shows "Feature Not Enabled", contact Brokernote support.
- Know how many AI Assistant seats your organisation has purchased.
Setup checklist
| 1 | Give your team access |
| 2 | Choose which routines are available |
| 3 | Upload your Knowledge Base |
| 4 | Set your Organisation Tone |
| 5 | Set styles for generated Word documents |
| 6 | (Optional) Upload Document Templates |
| 7 | Brief your team |
Step 1: Give your team access
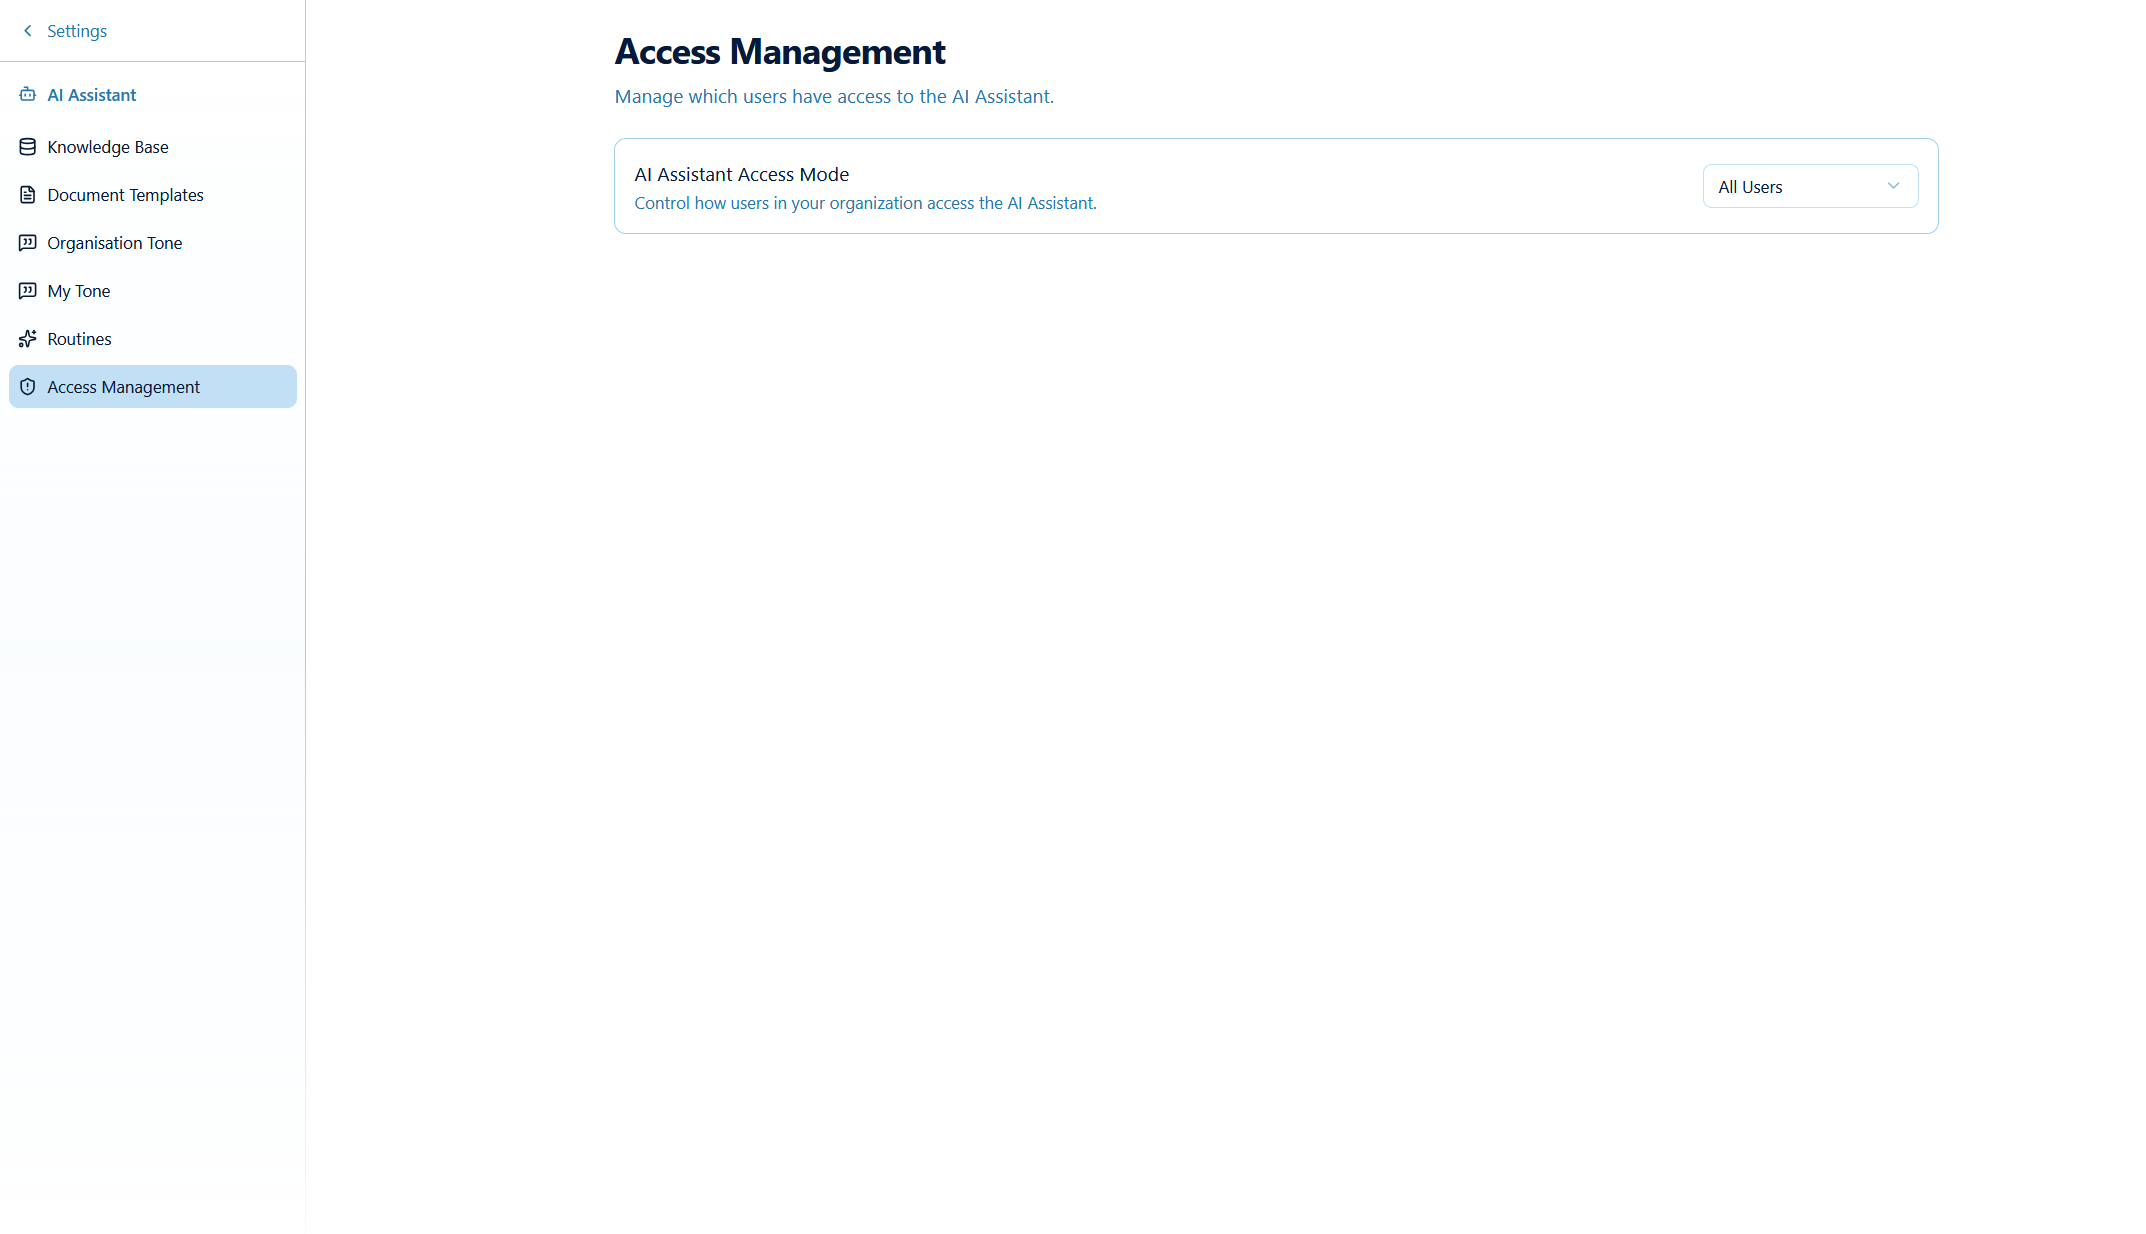
- Go to Settings → AI Assistant → Access Management.
- Choose an AI Assistant Access Mode:
- Restricted (Specific Users): only the users you switch on can use the Assistant. Use this when you have fewer seats than staff.
- All Users: every member of your organisation, including people invited later, gets access. This option is greyed out and shows "(Exceeds seat limit)" when you have more members than seats.
- If you chose Restricted, use the User Access table to switch Access enabled? on for each person. The counter at the top right shows how many seats you've used, e.g. "3 of 5 seats assigned"
Step 2: Choose which routines are available
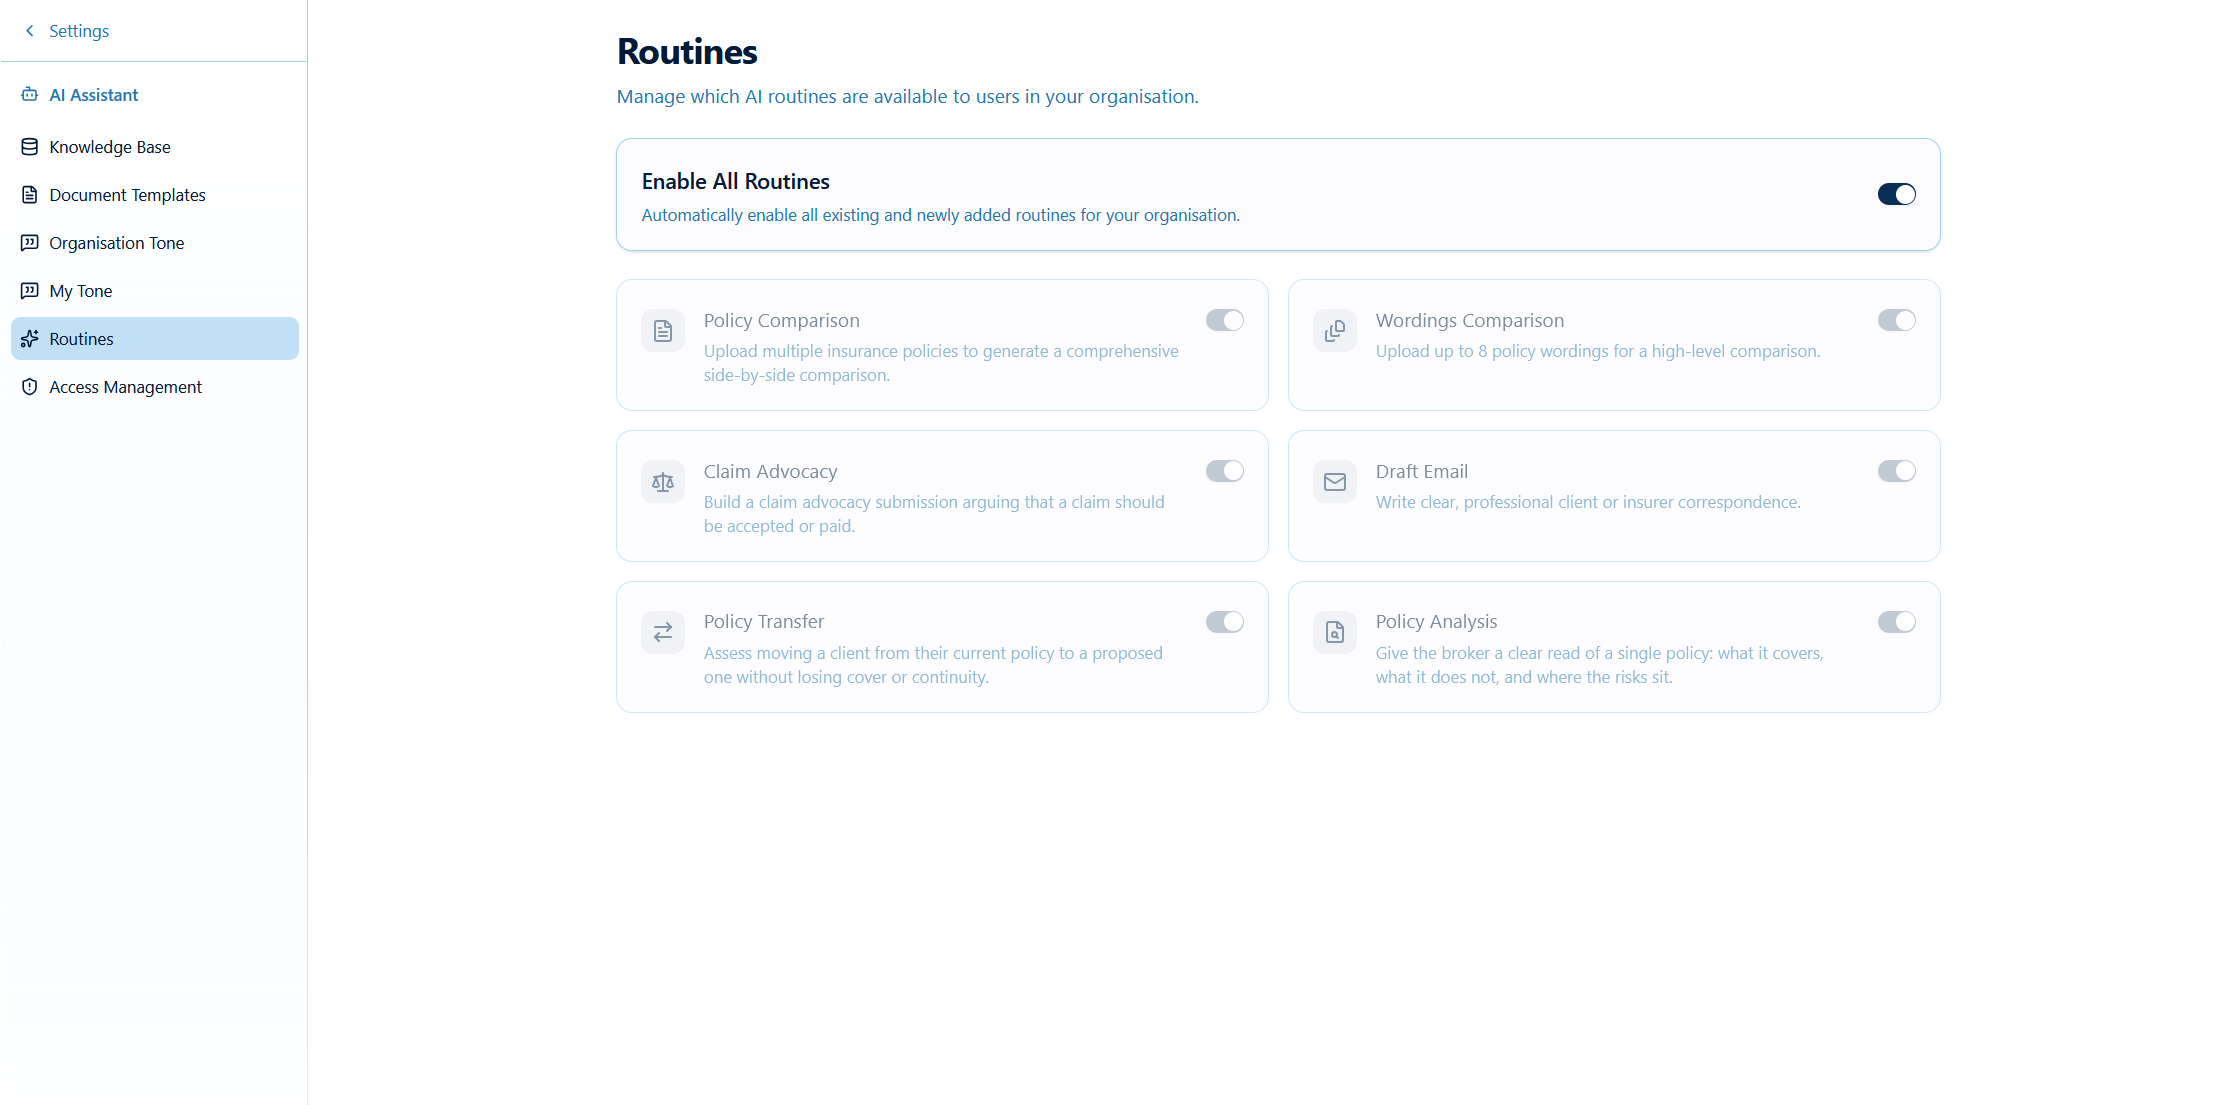
Routines are guided workflows for common tasks such as Policy Comparison and Claim Advocacy. You decide which ones your team sees.
- Go to Settings → AI Assistant → Routines.
- Turn on Enable All Routines to give users every routine, including new ones Brokernote adds later, or
- turn Enable All Routines off and switch on each routine you want.
If no routines are enabled, users see: "No routines are enabled. Please ask your administrator to enable them."
Step 3: Upload your Knowledge Base
The Knowledge Base is a set of PDFs the Assistant can search for every user in your organisation, for example preferred insurer wordings, underwriting guidelines and internal procedures. See Setting Up the Knowledge Base for the full steps.
Step 4: Set your Organisation Tone
- Go to Settings → AI Assistant → Organisation Tone.
- Paste 2–3 examples of emails your firm has written, with
---on its own line between each one. - Click Generate Tone Profile.
- Decide whether to turn on Allow Personal Tone Profiles, which lets each user create their own tone.
See Custom Tone of Voice for details.
Step 5: Set styles for generated Word documents
When the Assistant creates a Word document, it uses your organisation's fonts, heading styles and table styles. Set these under Settings → General → Organisation Styles. See Branding & Styling Assistant Documents.
Step 6 (optional): Upload Document Templates
If Document Templates is available for your organisation, upload your standard DOCX/XLSX templates so the Assistant can fill them in. See Document Templates.
Step 7: Brief your team
- Send them Getting Started for Users and Good vs Bad Prompts: Broker Examples.
- Remind them to review all AI output before it goes to a client.
- Agree on what should not be uploaded, e.g. unnecessary personal information such as TFNs, Medicare or bank details.
Was this article helpful?
That’s Great!
Thank you for your feedback
Sorry! We couldn't be helpful
Thank you for your feedback
Feedback sent
We appreciate your effort and will try to fix the article